Modified K40 Laser Cutter
Sources and Configs
TODO
- Calibrate steps/mm more accurately
- Get the PWM laser power higher, right now “100%” only registers about 5mA on the current meter when full power test should be about 15mA.
- Calibrate the speed and acceleration so the travel moves can be faster
- Get it working with LaserWeb4
- Configure LaserWeb4 with different materials
- Figure out how to do multi-layer SVGs
SAFETY
The Laser Cutter is a dangerous piece of equipment and should only be operated under the supervision of members who have been trained. We will run workshops as needed to provide this training.
Essential Rules
- DO NOT open the cover while a cut is in progress
- ENSURE you have the water pump and extractor fans running
- ENSURE You turn off all fans, pumps and the laser cutter when you have finished using it
- DO NOT leave the laser cutter unattended. You need to be present while a cut is in progress.
History
We picked the laser cutter up from a Maker in Canberra in March 2017. It came with an old PC and parallel port setup and used LinuxCNC. The software worked fine but LinuxCNC is very clunky to use the laser signal was floating such that the laser turned on if the PC or LinuxCNC was not running so it was not very safe!
There was some good web software called LaserWeb3 but this did not work with parallel port based CNC setups.
We replaced the PC with a Raspberry Pi3 and an Arduino based Pi-Hat from Protoneer. This works pretty well almost worked straight out of the box however we had problems with the opto-interrupted limit switches not dropping low enough to register an active LOW. So we added a Hex buffer IC and now most of the features work.
Blog Posts
Photos
-
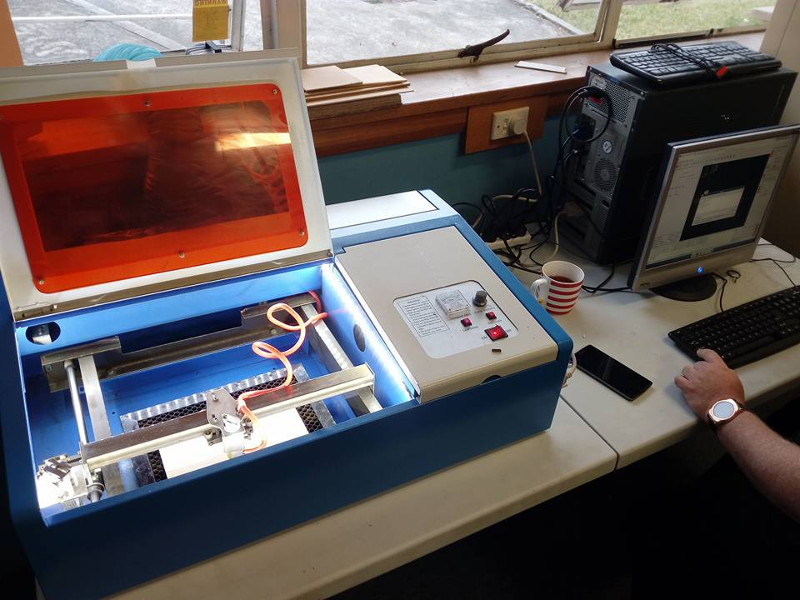
Our laser cutter
-
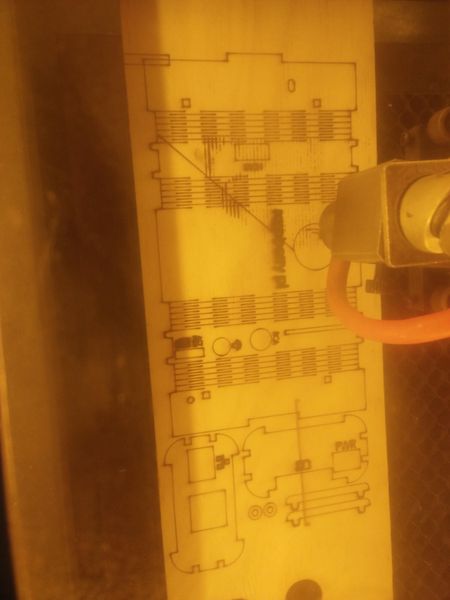
Test cutting a R-Pi enclosure with the laser cutter
-
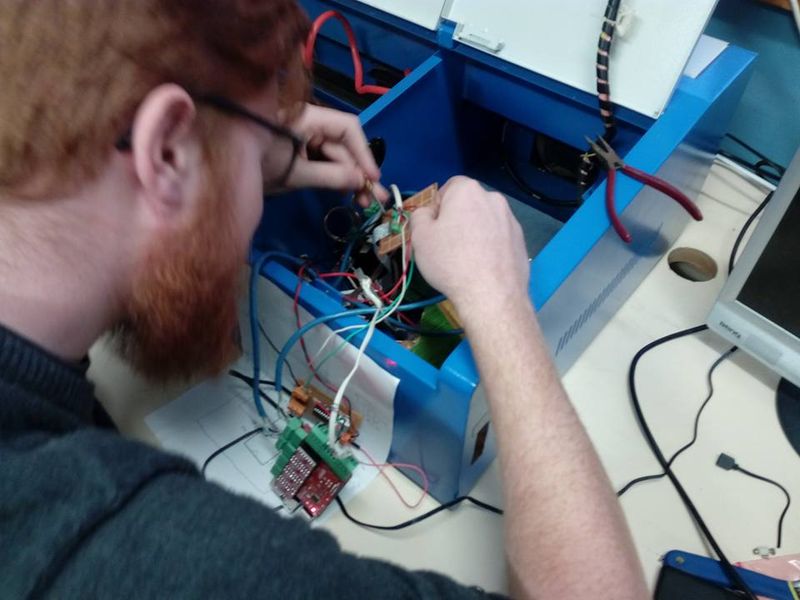
Adding CNC Pi Hat to Laser Cutter

